
Back to blog
Mar 13, 2026
How to Turn a Script Into an Anime Storyboard With AI
Turn a script into an AI anime storyboard with a seven-step workflow for story beats, shot lists, pacing, continuity, and per-shot revision.
Mar 13, 2026
Turn a script into an AI anime storyboard with a seven-step workflow for story beats, shot lists, pacing, continuity, and per-shot revision.
A practical workflow for converting story beats into editable shots before generating anime images or video.
By Sonya, Contributor of MkAnime · Updated August 2, 2026
Disclosure: AI assistance was used to organize and edit this guide. Its workflow, interface descriptions, and MkAnime product claims were reviewed against the current implementation on July 31, 2026.
To turn a script into an anime storyboard with AI, first identify the visible story beats, convert each beat into one or more purposeful shots, add production context, and review the entire sequence for pacing and continuity. Generate finished keyframes or clips only after the shot plan communicates the scene clearly.
The complete workflow is:
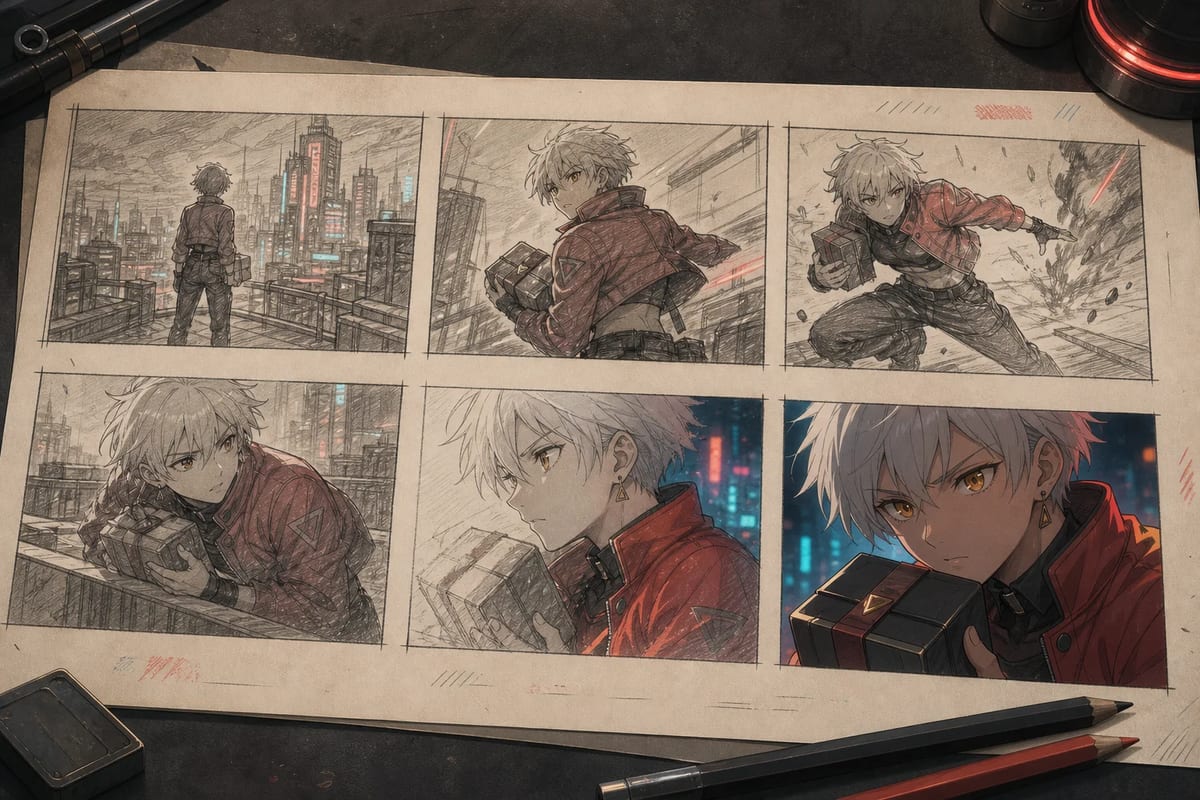
Conceptual illustration of a written scene organized as a six-shot anime storyboard.
An AI anime storyboard is an ordered plan of shots created with assistance from an AI system. Each panel represents one camera setup or visual beat and normally records:
AI can draft a shot list or a first set of panels from a script. The result remains a production draft. The creator still decides what the audience needs to see, how long a moment should last, which visual detail carries the emotion, and whether a shot is practical to generate.
Image and video generation evaluate one request at a time. A scene must also work across the cuts between those outputs.
A storyboard makes sequence-level problems visible while the project is still easy to revise:
Changing a shot description or panel does not guarantee that the next generation will succeed. It does give the generation a clearer, smaller job.
If the screenplay itself still needs work, use an AI anime script generator to create an editable scene draft before planning the board.
A loose idea such as “a rooftop chase” leaves too many decisions unresolved. A boardable scene contains visible or audible changes.
Consider this example:
Mina lands on a rooftop. A sealed package slips from her hands and slides toward the edge. She catches it just as one eye opens on its surface.
The scene identifies a character, location, prop, sequence of actions, danger, and reveal. Each can be shown in a shot.
Before storyboarding, rewrite abstract statements as observable events. “Mina feels suspicious” becomes a pause, a look toward the package, a hand withdrawing, or a line of dialogue. The board can represent those choices.
A story beat is a meaningful change in action, information, or emotion.
The rooftop example contains five possible beats:
One sentence does not automatically equal one shot. A complex beat may require setup, action, and reaction shots. Two simple beats may fit within one wider shot.
Use three questions to find the beats:
Choose the fewest shots that make the action and emotional progression clear.
| Shot | Framing | Visible action | Purpose |
|---|---|---|---|
| 1 | Wide | Mina lands; the roof edge is visible | Establish place and danger |
| 2 | Medium | The package slips from her hands | Begin the problem |
| 3 | Insert | The package slides toward the edge | Increase tension |
| 4 | Medium close-up | Mina catches the package | Resolve the physical danger |
| 5 | Close-up | One eye opens on the package | Deliver the reveal |
| 6 | Close-up | Mina reacts | Land the emotional beat |
This table is already a usable shot list. Draft panels can now test composition without pretending to be finished art.
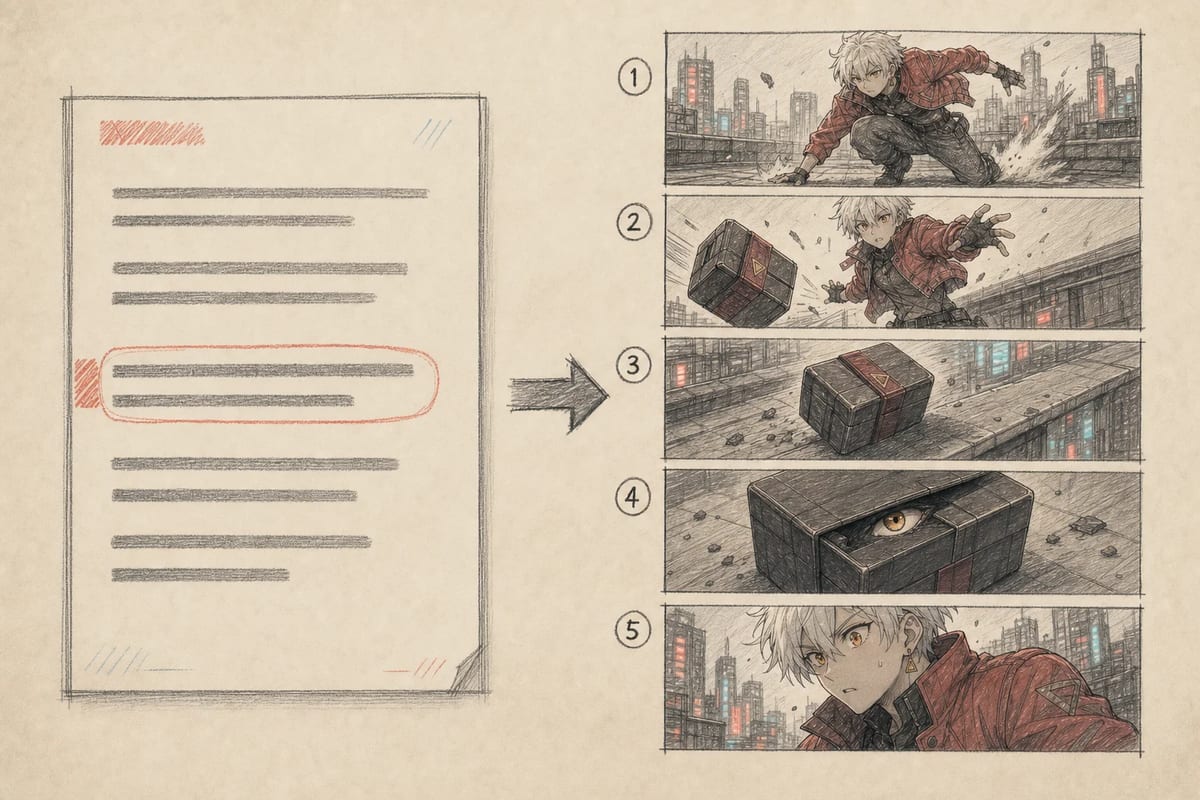
AI-generated instructional illustration of the script-to-shot breakdown.
A shot may establish the location, show an action, reveal information, or hold a reaction. When one shot tries to do all four, the audience may miss the important change and the generation prompt may become difficult to control.
Use this compact template for each shot:
| Field | Example |
|---|---|
| Shot purpose | Reveal that the package is alive |
| Framing | Close-up insert |
| Subject | Package in Mina’s hands |
| Action | One eye opens slowly |
| Character reaction | Mina freezes; visible in the background only if readable |
| Location | Rooftop at dusk |
| Continuity anchors | Same package seal, same jacket sleeve, same light direction |
| Audio | Small mechanical click; no dialogue |
| Duration | Approximately 1.5 seconds |
| Ratio | 9:16 |
Before generation, each shot needs enough project context to remain connected to its neighbors.
Record:
Keep permanent identity information separate from the shot instruction. The character definition should remain stable while pose, expression, angle, and lighting change.
For recurring casts, create and approve the character references before building a long board. MkAnime’s AI anime character creator produces a full-body character image and a three-view reference sheet that can be checked and reused as production references. The guide to keeping AI anime characters consistent covers the review process in more detail.
Read the storyboard from beginning to end. Avoid polishing individual panels until the sequence passes these reviews.
Can a reader understand what happens without the original script? Check that causes appear before effects and that the important reveal has enough visual emphasis.
Look for repeated information. Decide where the viewer needs a pause, where the cuts should accelerate, and whether the opening hook arrives early enough for the intended format.
Check:
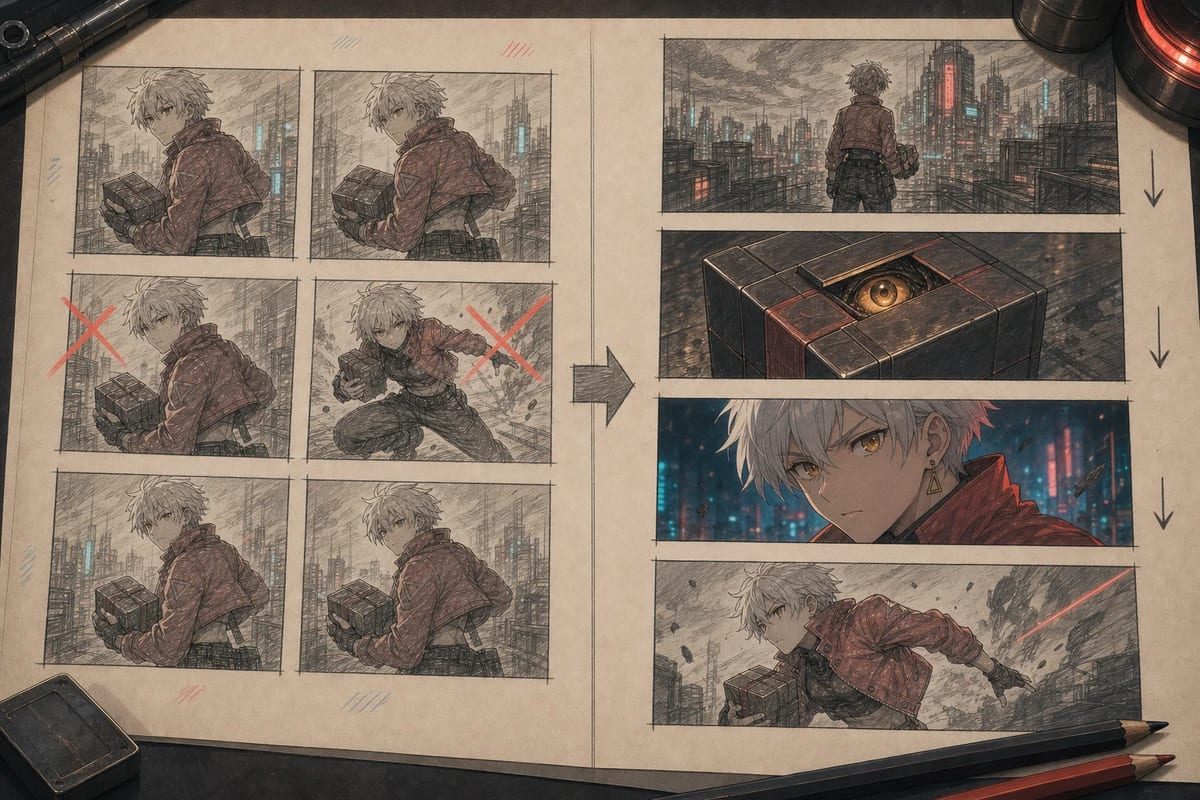
AI-generated comparison of a repetitive first pass and a revised board.
Some storyboard panels are more likely to need iteration:
For each high-risk shot, choose a response before producing the full sequence:
This review makes production risk visible. It does not promise that every output will work on the first attempt.
Once the board communicates the scene, move the approved shots into image or scene generation.
Keep each correction tied to the source of the problem:
| Problem | First thing to review |
|---|---|
| Wrong composition | Framing, subject placement, and shot purpose |
| Wrong character | Assigned character reference and identity anchors |
| Wrong location | Scene reference, time, and lighting context |
| Weak pacing | Shot order and planned duration |
| Failed complex action | Split, simplify, or reframe the shot |
| Continuity break | Previous and next panels plus prop/wardrobe notes |
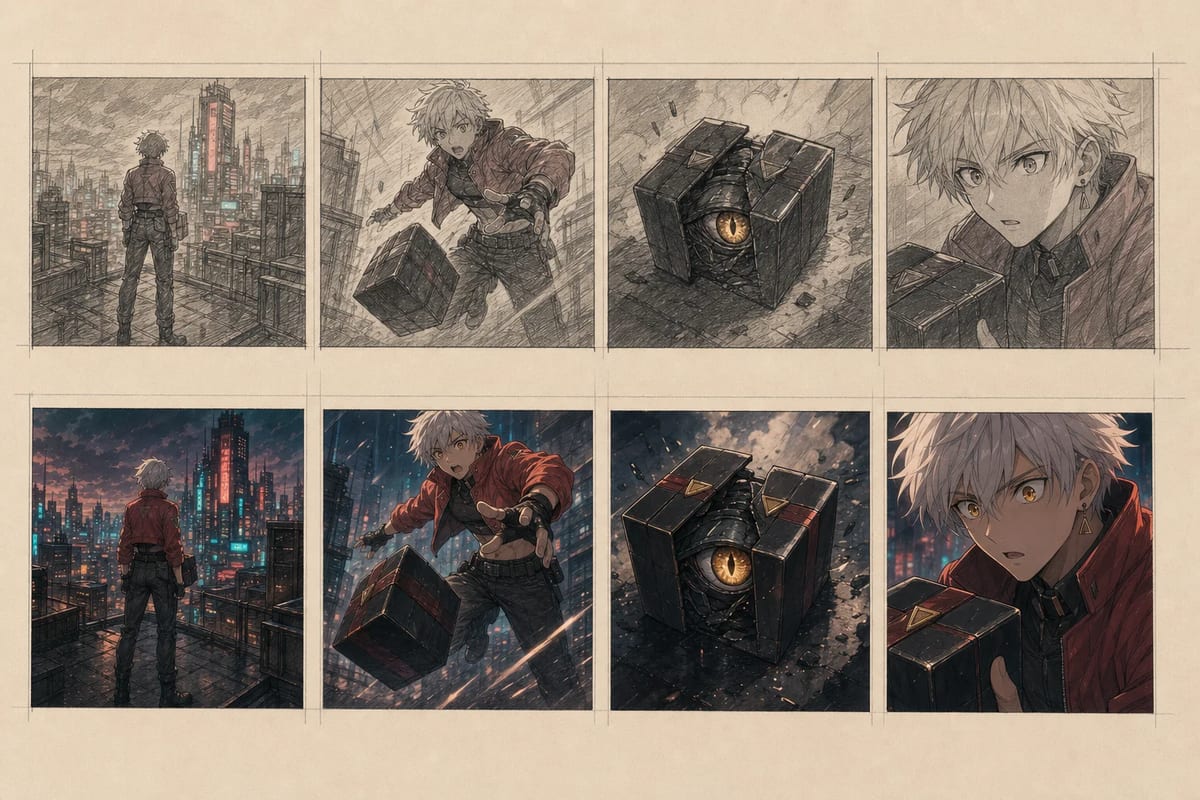
AI-generated conceptual illustration of approved compositions carrying into keyframe generation.
MkAnime places an editable storyboard between the script and scene generation stages.
In the current workflow, creators can:
The MkAnime AI anime storyboard generator is intended for connected scenes and selective revision. A dedicated image or video tool may be more direct when the goal is one isolated output.
When the approved board is ready to move, continue with the storyboard image-to-video workflow to assign timing, transitions, camera language, and continuity to the sequence.
If the board belongs to a full episode, follow the story-to-export anime episode guide to connect project setup, characters, scenes, shot media, dialogue audio, and separate ZIP exports.
Before generating a scene, confirm:
AI can produce a first-pass shot list, shot descriptions, and draft panels from a script. Human review is still needed for story emphasis, pacing, continuity, and production feasibility.
No. Their main job is to communicate shot order, composition, action, and continuity. A readable rough panel is useful even when it would never appear in the finished scene.
There is no universal number. Use the fewest shots that communicate the action and emotion clearly. Shot count depends on scene duration, dialogue, pacing, visual complexity, and publishing format.
Approve the shot plan first. Many workflows then create or approve keyframes before generating motion because a still frame provides a focused place to review composition, character identity, and location continuity.
The current storyboard workflow supports per-shot editing and selective changes. Review the shot’s prompt, composition, character context, and neighboring panels before regenerating it.
The purpose of an AI anime storyboard is to make a scene testable before final generation.
Start with visible action, mark the meaningful beats, build a concise shot list, attach the correct production references, and review the complete sequence. Once the board works, each generation has a defined purpose and each failure has a smaller revision scope.
Plan an editable anime storyboard with MkAnime.
See how timed story beats translate into generated motion in our 30-second Seedance 2.5 anime scene test, then generate a video with a prompt from one of your own shots.
Sonya is part of the three-person team behind MkAnime and contributed to this guide’s research, editorial design, and product-fact review.
From inspiration to complete plot, quickly output chapter structure