How to Make AI Anime Shorts for TikTok, YouTube Shorts, and Reels
A practical guide to making AI anime shorts for TikTok, YouTube Shorts, and Reels with a story-first workflow for shots, characters, dubbing, and vertical export.
Mar 13, 2026
A practical guide to making AI anime shorts for TikTok, YouTube Shorts, and Reels with a story-first workflow for shots, characters, dubbing, and vertical export.
Mar 13, 2026
By Yihui, Founder of MkAnime
Making AI anime shorts is easy if your only goal is to generate something that looks anime for two seconds.
It gets much harder when the goal is to publish something viewers will actually finish.
That is where many creators hit the same wall. They start with a cool-looking prompt, generate a few decent clips, then realize the clips do not really connect. The pacing is off, the character changes from shot to shot, and the voice layer gets added too late.
At that point, the problem is no longer image quality. It is workflow.
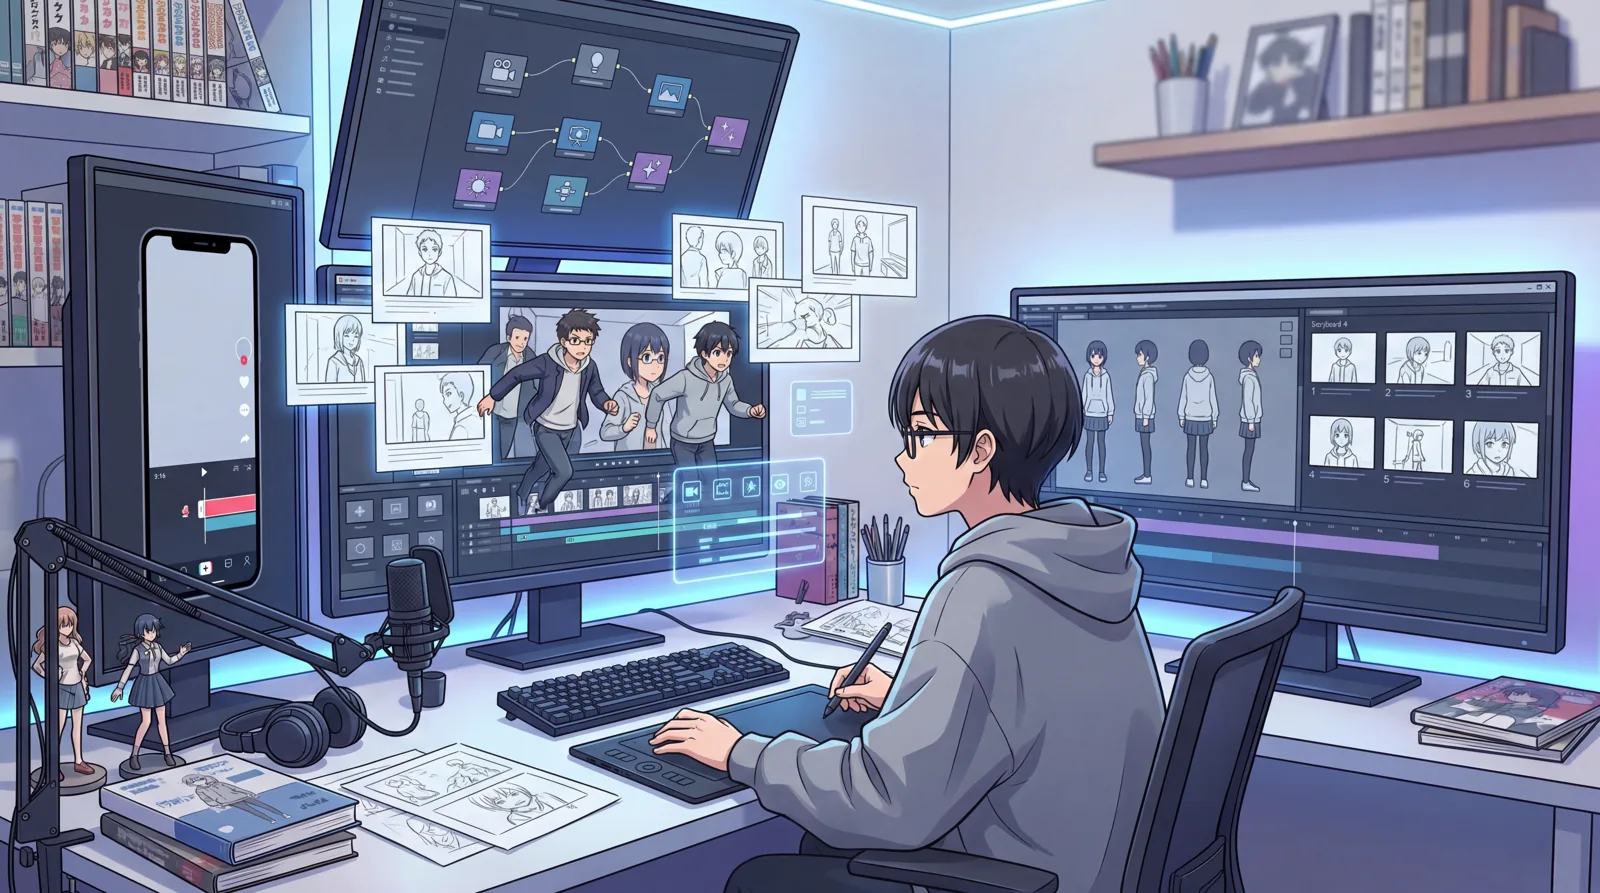
The easiest way to think about anime shorts is this: you are not trying to make one impressive frame. You are trying to build a very small production pipeline. Story first, then shots, then character stability, then dubbing, then vertical export.
Most short-form anime content does not fail because the visuals are bad. It fails because the structure gets fixed too late. Creators generate first, then hope editing will save the short.
That usually does not work.
A good anime short does not need to be long or complicated. It just needs four things to line up in the right order:
If those four layers stay connected, the short usually feels intentional. If they get split across too many tools, even strong visuals start to feel random.
That is why a connected workflow such as MkAnime's AI Anime Video Generator is more practical than trying to patch the project together later.
One of the biggest beginner mistakes is starting with a broad prompt like "anime girl in neon city." That may give you a good-looking frame, but it does not give you a short.
A short needs a simple story engine. For vertical platforms, the best concepts usually have three parts:
For example:
These ideas work better because they already imply sequence and character action.
Before you generate anything, decide:
The more specific the premise, the easier the rest of the workflow becomes.
This is the step many beginners skip, and it is usually why the final short feels weak.
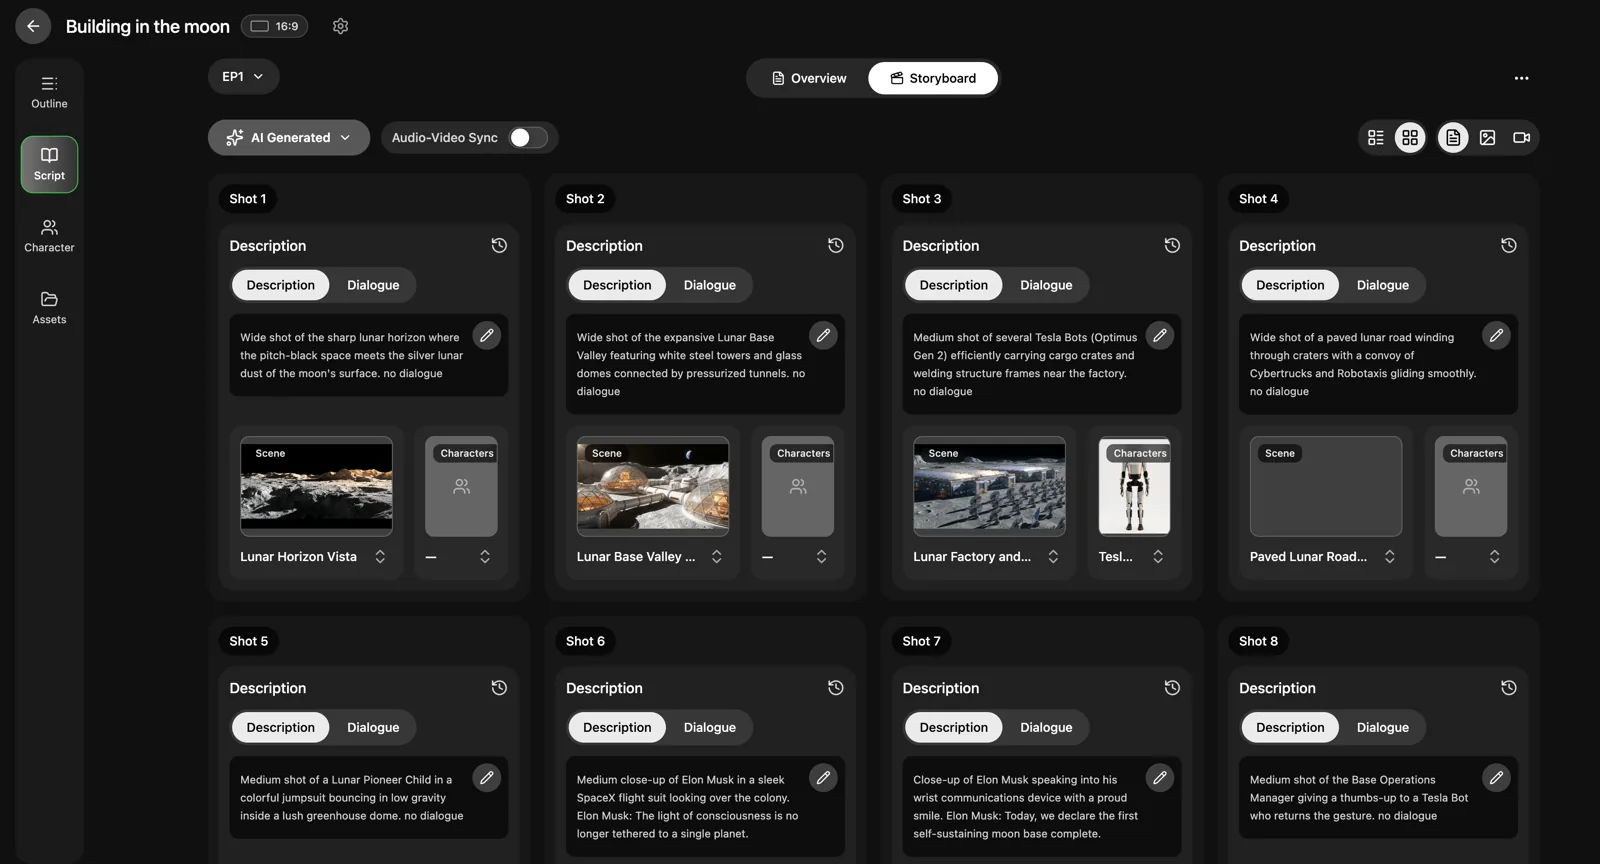
A short anime video is not just a stack of pretty clips. It needs shot order and pacing. That is what the storyboard layer is for.
Instead of jumping straight from script to final visuals, break the short into a few beats. For many 15 to 30 second anime shorts, 4 to 8 shots are enough.
A simple 30-second short might look like this:
That is already a usable structure.
This is where an AI Storyboard Generator for Anime matters. It gives you a working layer between story and final scene generation. If shot 3 is weak, you fix shot 3. You do not rebuild the whole short.
That sounds small, but it is one of the biggest differences between a creator workflow and a demo workflow.
A storyboard also forces you to answer the right questions:
That is the difference between a random anime clip and a short that feels directed.
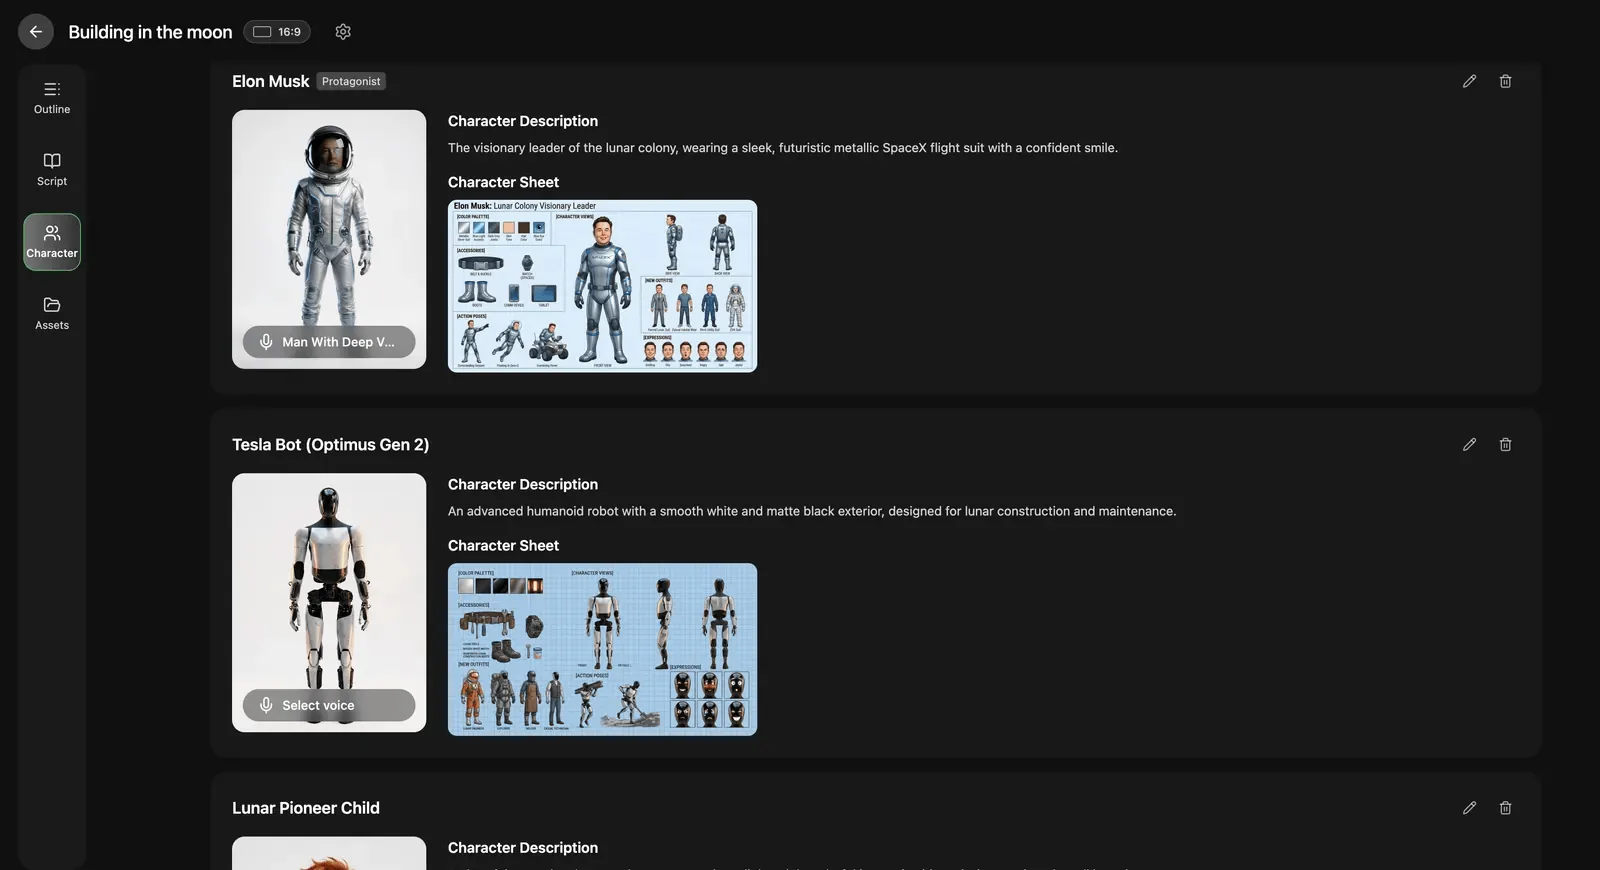
If the face, hair, outfit, or proportions drift from shot to shot, viewers notice immediately. They may not describe it as a consistency problem, but they will feel that something is off.
This matters even more if you are trying to make recurring shorts instead of one-off experiments. A short can survive rough motion. It usually cannot survive a main character who feels like a different person every six seconds.
Before you generate the full sequence, lock the character clearly:
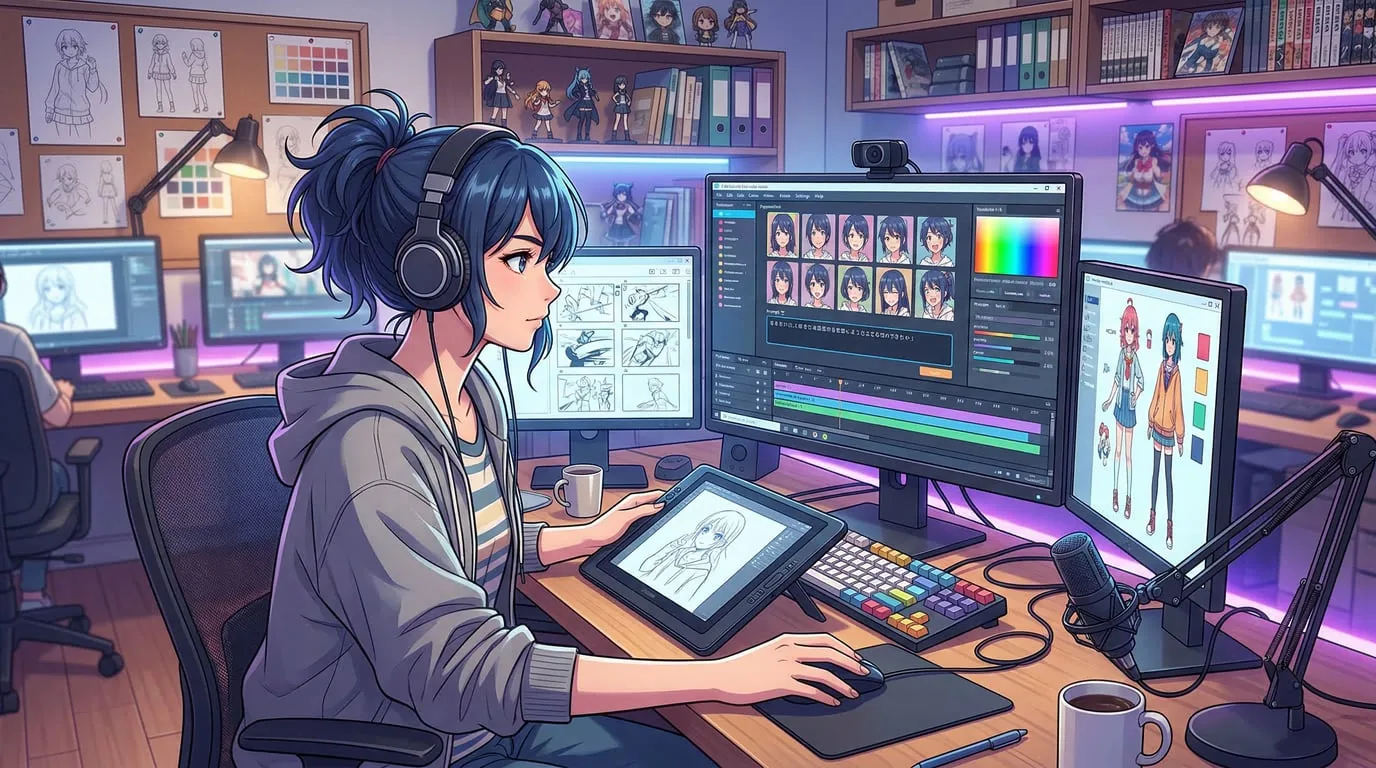
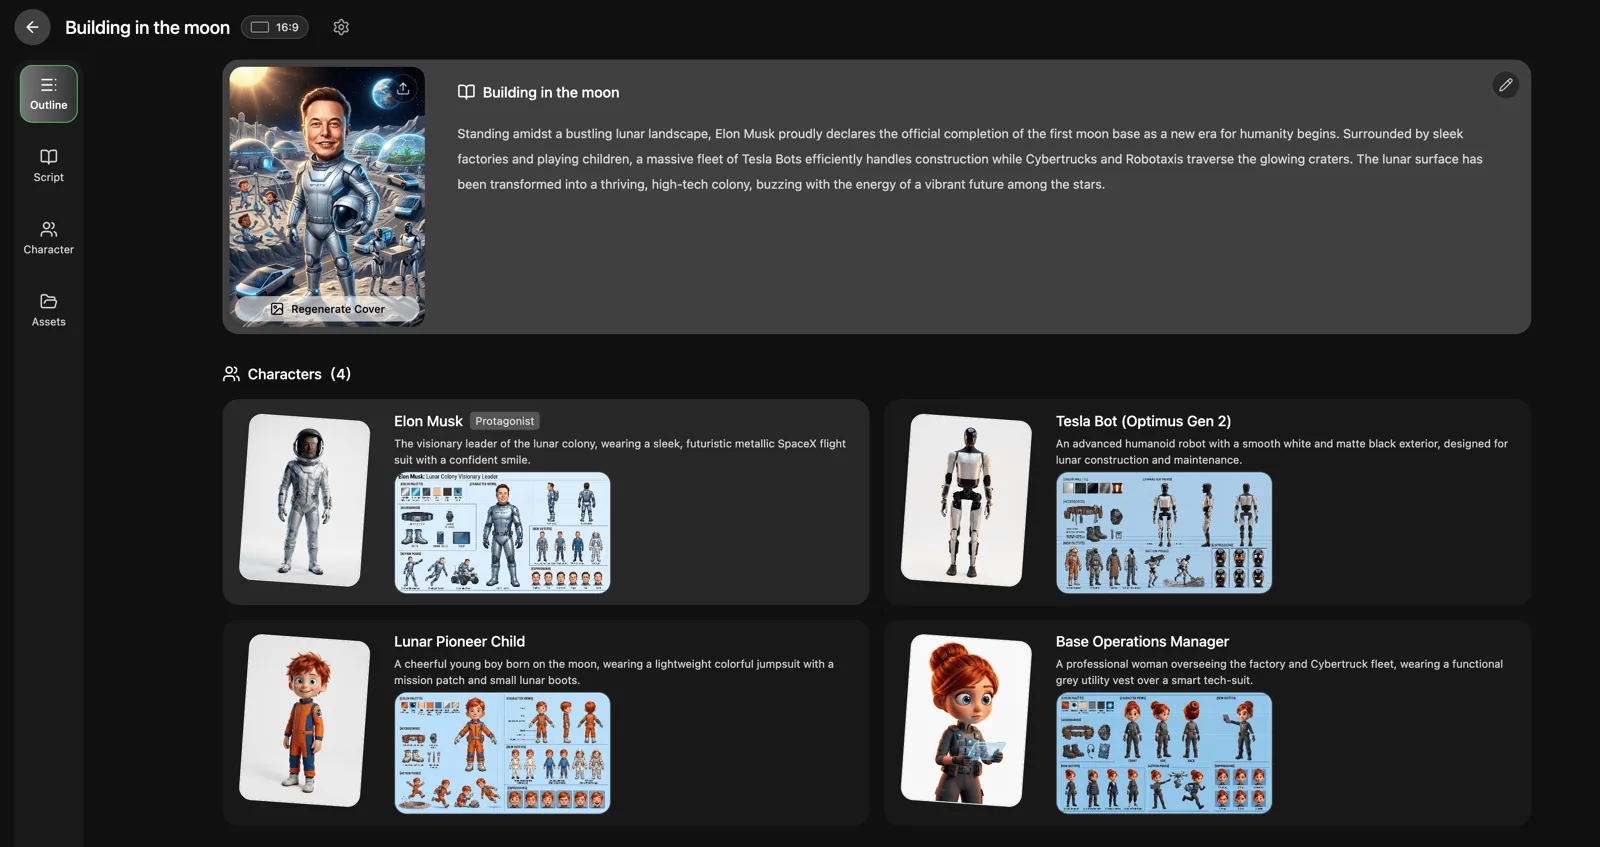
This is why a proper Anime Character Creator is more useful than a one-off portrait tool. You are not just making a nice-looking image. You are creating a reusable asset that can survive multiple shots, multiple moods, and future episodes.
If your goal is to make anime shorts that feel like part of a real series, character consistency is not a polish step. It is a foundation step.
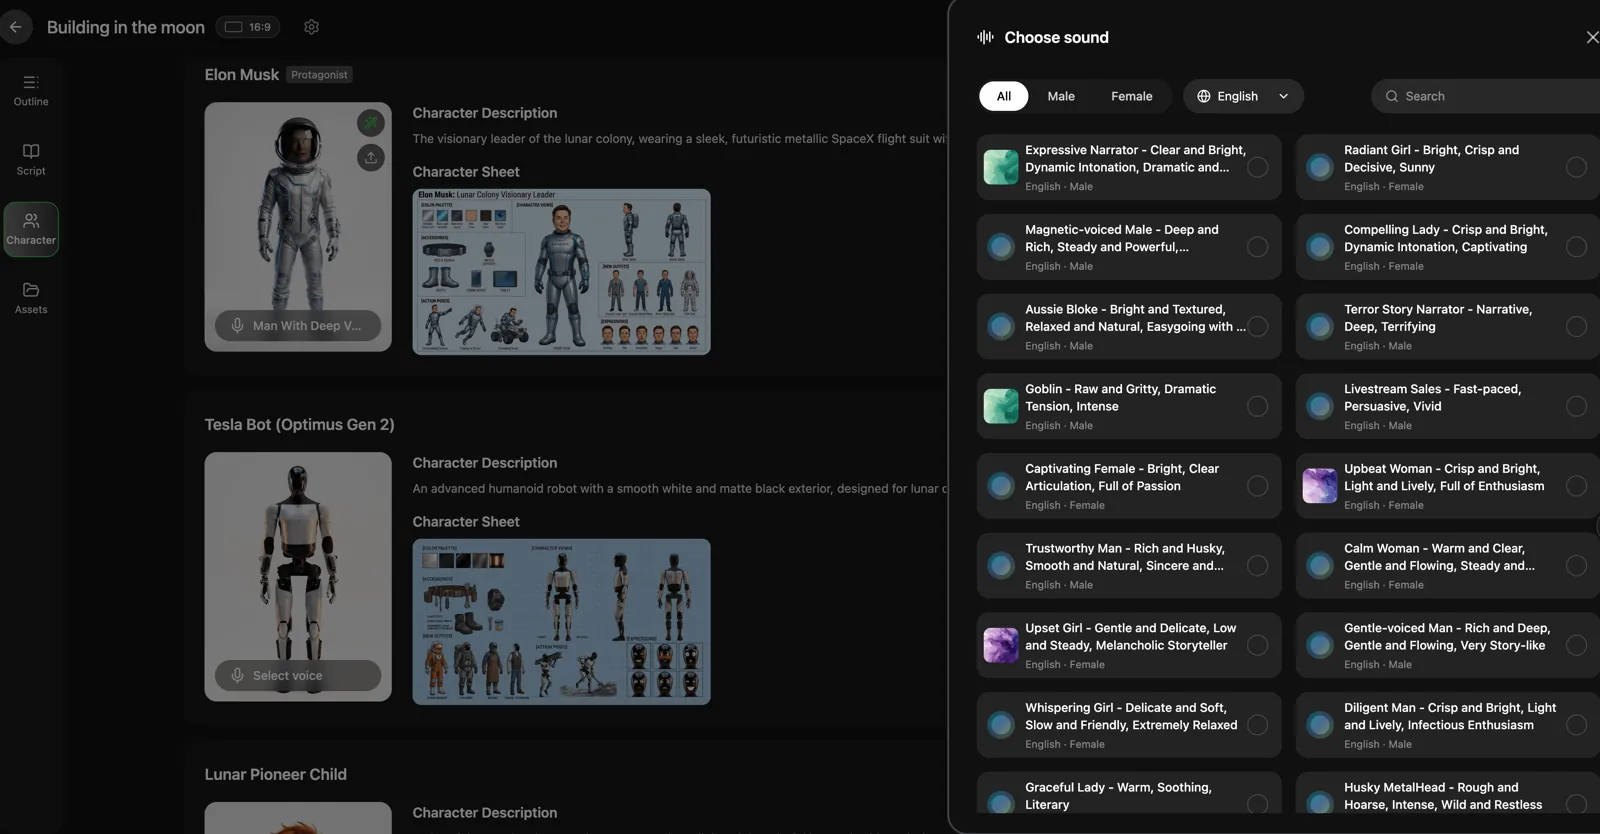
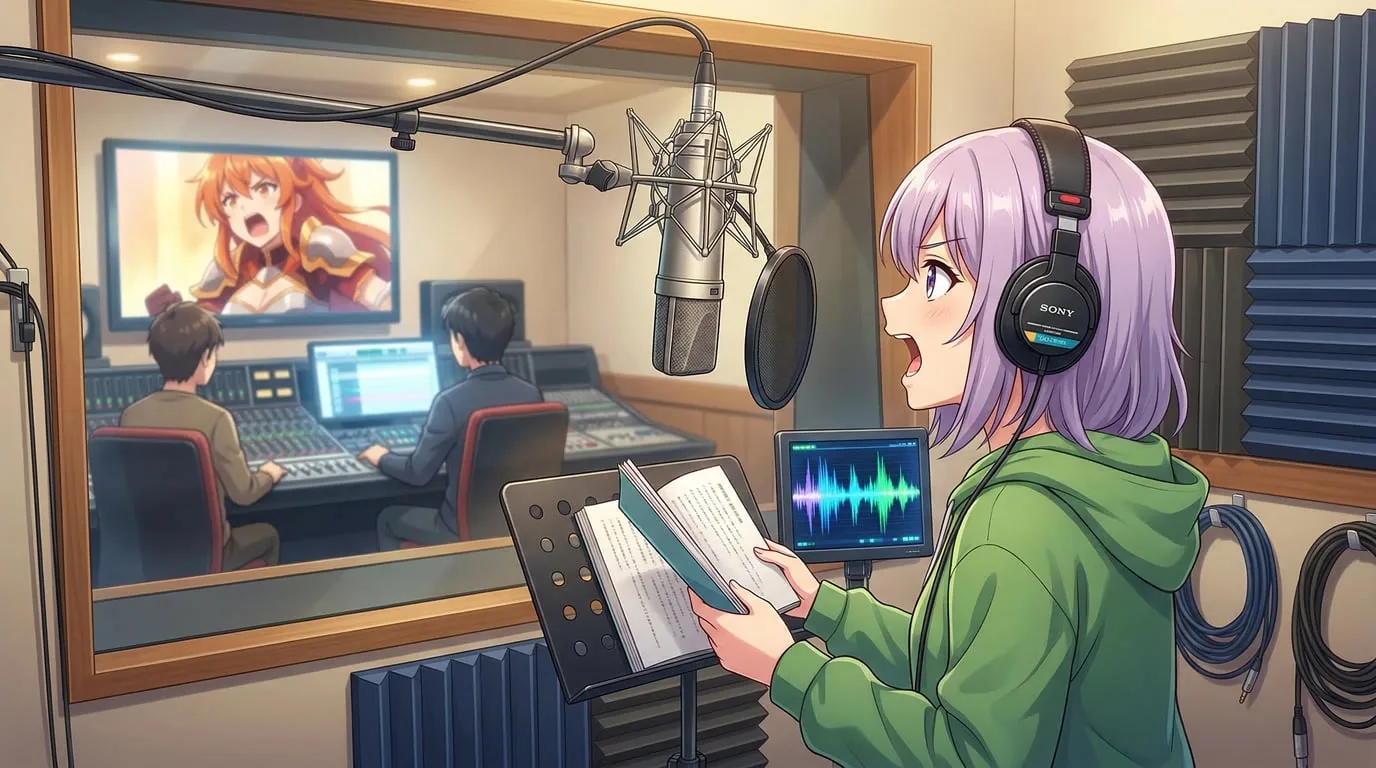
A lot of creators add voices too early. That usually creates extra work, because the moment you change shot timing, the dialogue timing and lip sync break too.
A better order is:
That order matters more than people think.
In short-form anime, voice is not there to fill every second. It should do one of three jobs:
Anything beyond that usually makes the short feel crowded.
Once the visual flow is working, you can use AI Anime Lip Sync to add voices in context. That is much better than exporting a loose clip and trying to rescue it later in another tool.
Before export, check these basics:
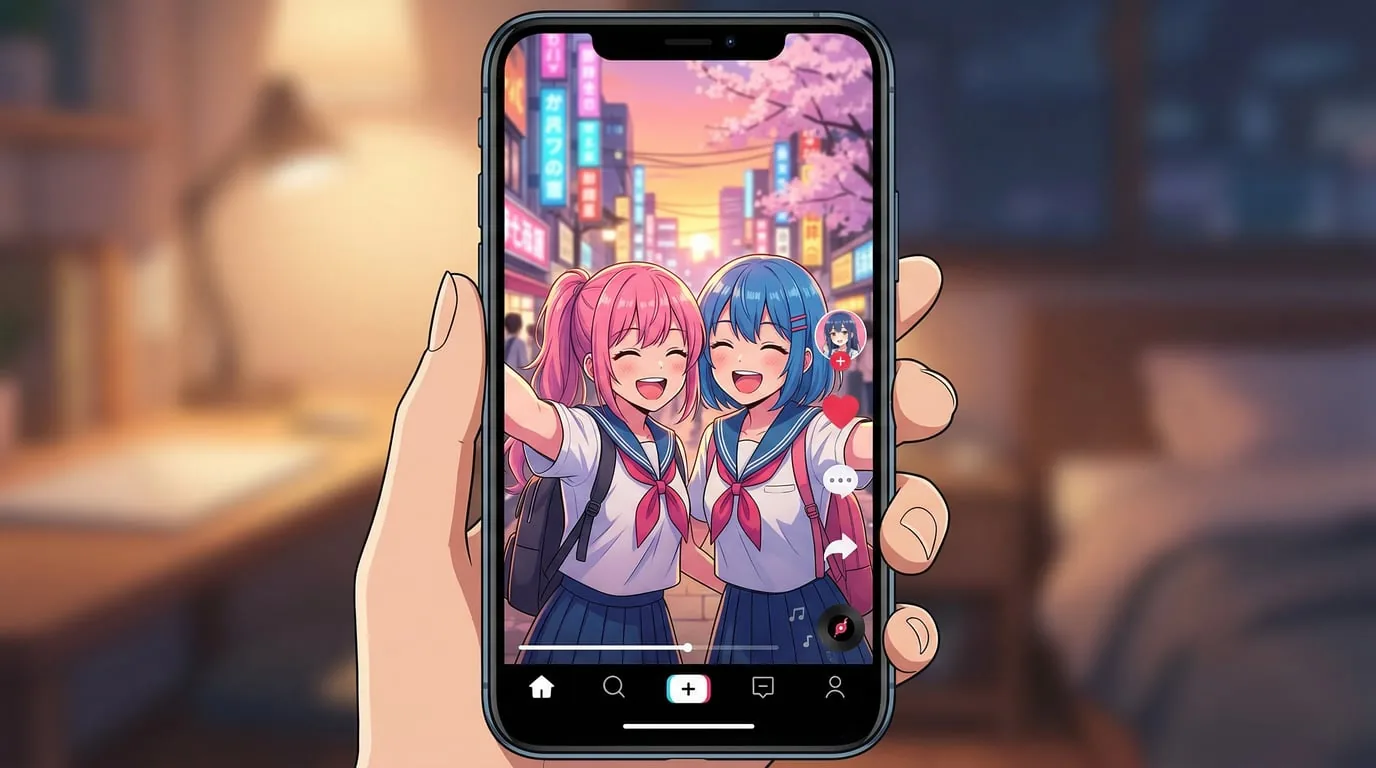
TikTok, Shorts, and Reels all use vertical video, but the rule is the same: design for mobile from the start instead of adapting a wide video later.
If you are building anime shorts solo, keep the workflow lean.
This kind of repeatable checklist is what makes daily or weekly publishing possible.
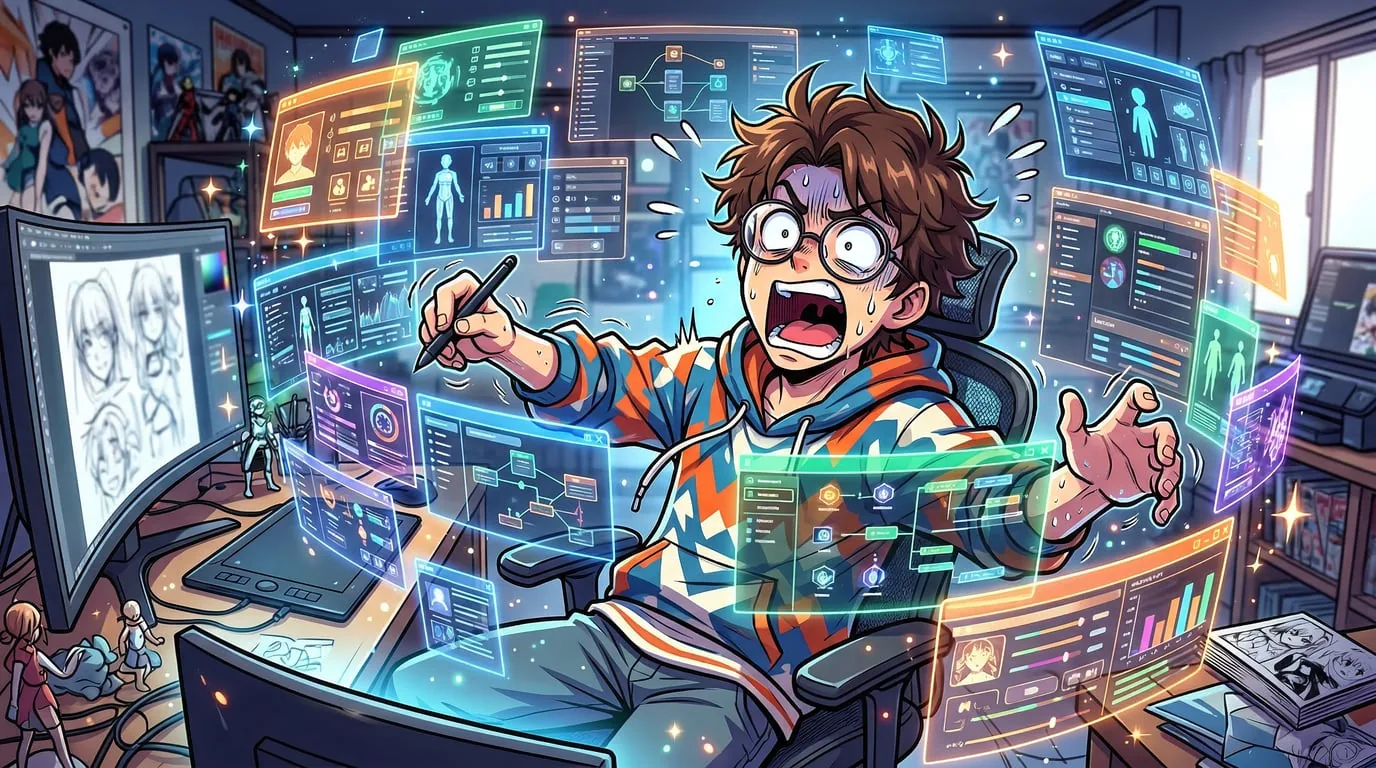
If you use one tool for writing, one for visuals, one for motion, one for voices, and one for editing, production gets slow fast. Worse, every handoff creates another chance for the short to fall apart.
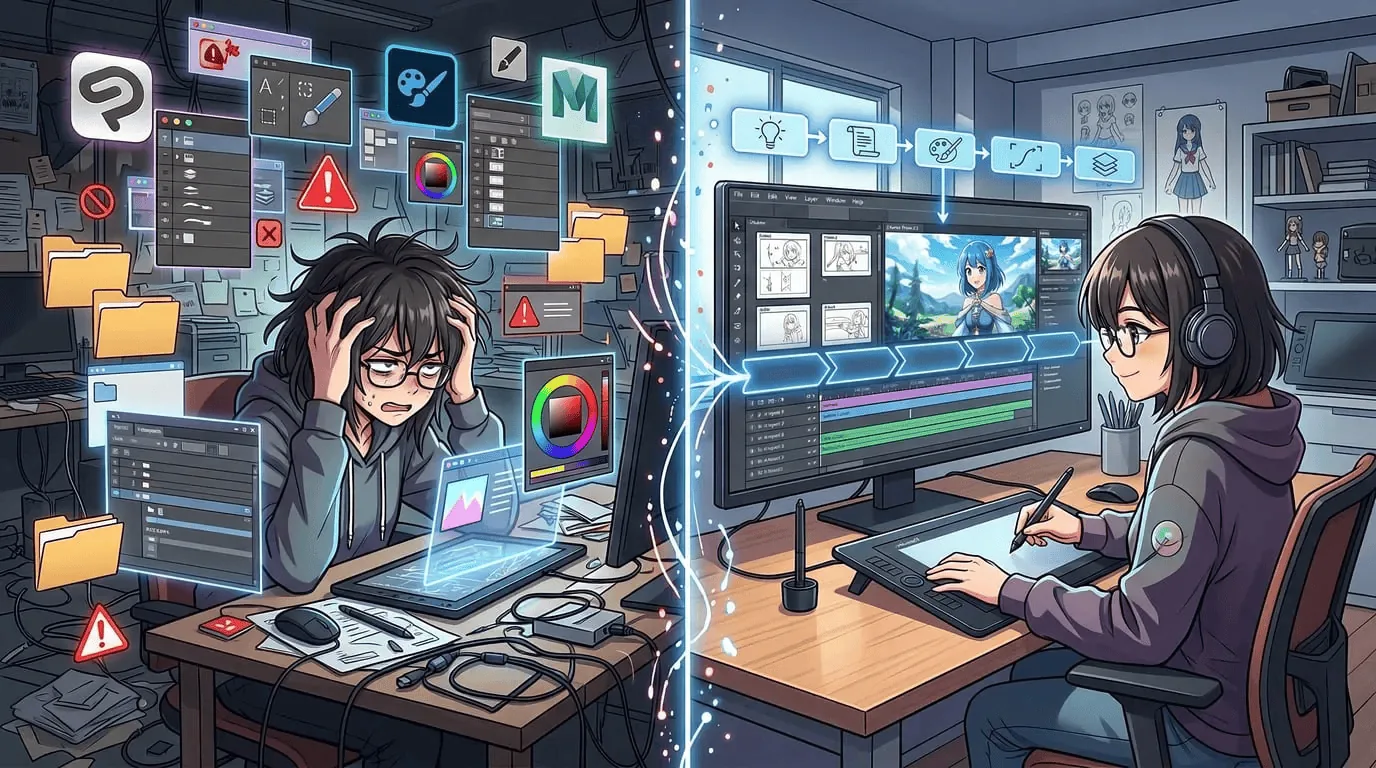
That is usually where creators lose time. Not at the idea stage. Not even at the generation stage. They lose time trying to repair continuity after the project has already been split across too many tools.
That is why connected workflows matter so much for anime shorts. With MkAnime, the process is much closer to how creators actually want to work: start from a story, turn it into storyboarded beats, keep the character stable, add dubbing in context, and export a short that is ready for vertical platforms.
If you want to make AI anime shorts that work on TikTok, YouTube Shorts, and Reels, the real upgrade is not better prompting alone. It is learning where structure matters.
Start with a story hook. Turn it into a few clear beats. Lock the character before the scenes drift. Add dubbing only after the visual flow works.
That is the simplest way to make anime shorts that are easier to finish, easier to repeat, and much more watchable.
If you want to do that inside one connected workflow, try MkAnime's AI Anime Video Generator.
From inspiration to complete plot, quickly output chapter structure