
Back to blog
Aug 8, 2026
How to Turn Storyboard Images Into Video: A Scene-by-Scene Workflow
Turn an approved storyboard image into a clear video sequence by assigning beats, timing motion, protecting continuity, and reviewing each transition.
Aug 8, 2026
Turn an approved storyboard image into a clear video sequence by assigning beats, timing motion, protecting continuity, and reviewing each transition.
Treat the approved board as a visual contract, then direct the movement between its decisions.
By Sonya, Contributor of MkAnime · Published August 8, 2026
Disclosure: I contribute to MkAnime, whose GPT Image2 to Video tool appears in this guide. AI assistance was used to organize and edit the article. I reviewed the workflow and product details against the current implementation on August 8, 2026.
To turn storyboard images into video, assign each panel or visual beat a clear job, define the movement that connects those jobs, budget the available time, protect character and location continuity, and specify the final composition.
A storyboard shows selected states. A video needs the path between them.
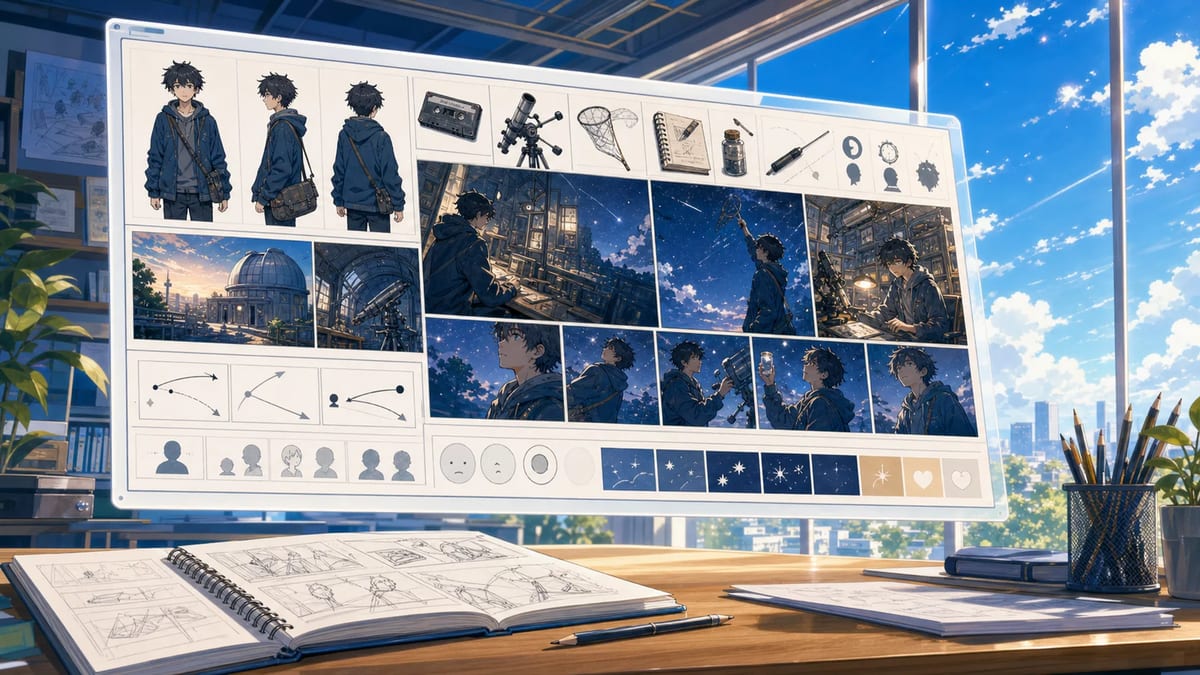
This Guide begins after the board exists. If you are still deciding story beats, shot sizes, or panel order, start with the script-to-anime storyboard workflow.
If you need the stages before and after this handoff, the full MkAnime episode workflow covers the story brief, script, reusable assets, shot media, audio, and export.
This original board makes the two characters, world, five beats, camera plan, and ending visible before motion. The finished clip can then be reviewed against those decisions instead of against the prompt alone.
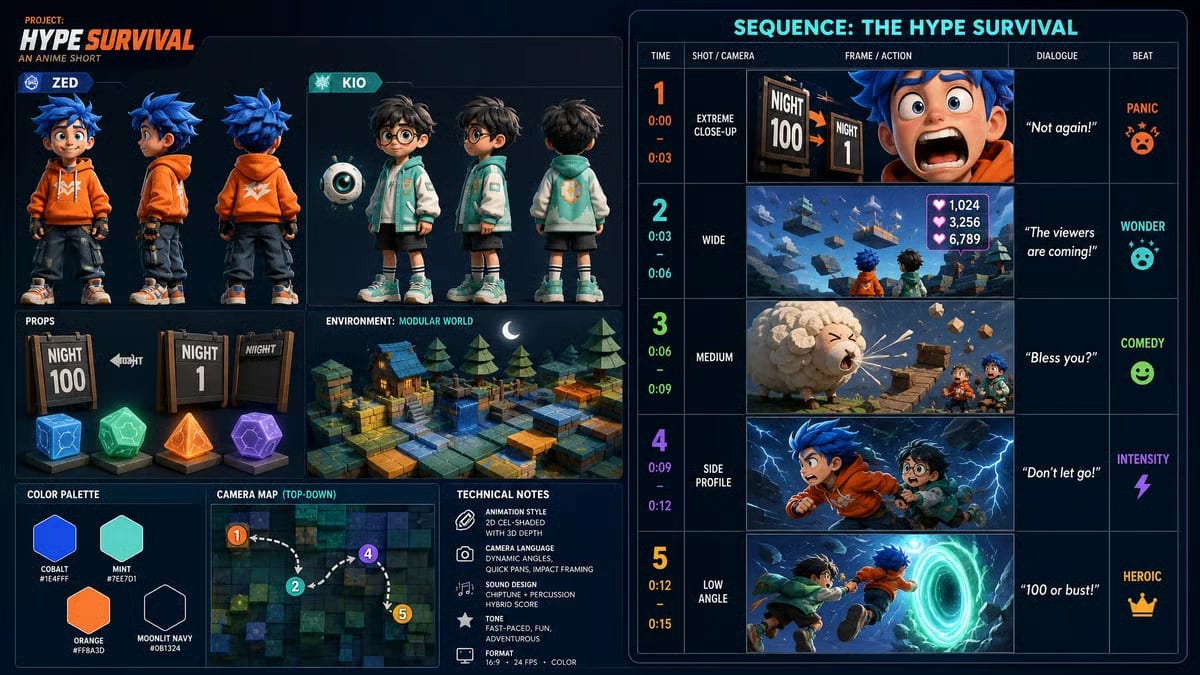
The board is the handoff: character anchors, shot order, and risky actions are visible before animation.
The result preserves the planned reaction, world reveal, comedy beat, chase, and portal ending.
For the full prompt-to-storyboard-to-video record behind this example, see the 15-second anime workflow case study.
Video generation should not be the first time you notice a storyboard contradiction.
Review five categories.
Important copy is usually safer in the edit. A generated video may bend panel text or speech balloons even when the drawing remains usable.
If the source is a manga page or inked panel, prepare the text, borders, linework, and screentone with the manga panel animation workflow before adding motion.
Write a short label under each panel.
| Beat | Job | Visible change |
|---|---|---|
| 1. Establish | show place, subject, and current state | courier enters an empty station |
| 2. Trigger | introduce the event that requires a response | warning light flashes |
| 3. Action | show the decisive physical response | courier catches a sliding ticket |
| 4. Meaning | reveal what the event changes | courier reads the destination |
| 5. Finish | create the exit composition | train arrives and doors open |
If two beats have the same job, combine them or strengthen the difference. If one panel contains three separate actions, divide it before asking the video to solve the timing.
Equal panel count does not require equal time.
For a 15-second sequence, a usable starting plan might be:
| Beat | Time | Reason |
|---|---|---|
| Establish | 0–3s | audience needs the location and subject |
| Trigger | 3–5s | one clear event |
| Action | 5–9s | physical movement needs room |
| Meaning | 9–12s | face, prop, or information becomes readable |
| Finish | 12–15s | scene arrives and holds |
This is editorial guidance, not a guarantee of frame-accurate timing. Judge whether each story function is present and readable.
When the board requires eight major beats in 15 seconds, the solution is usually subtraction or multiple clips. More prompt detail cannot create more viewing time.
Do not repeat only what the panels already show. Explain the transition.
Panel A:
Courier stands at the right side of the empty platform.
Panel B:
Courier kneels at center frame holding a paper ticket.
The missing movement is:
A train warning light activates. The ticket slides from the left toward the platform line. The courier notices it, crosses two steps from right to center, kneels, and catches it with the left hand before it reaches the edge.
Now the change has a trigger, path, direction, contact, and endpoint.
Use this transition formula:
Trigger → subject response → path through space → contact or decision → settled state
Use the anime image-to-video prompt templates when you need prompt-ready wording for identity, action, camera behavior, secondary motion, and the endpoint.
The board may contain several shot sizes. The generated sequence still needs a coherent camera vocabulary.
Choose a limited set:
Avoid asking every transition to use a different dramatic move. A whip pan, orbit, crash zoom, crane, and handheld shake can make the sequence harder to follow.
Name screen direction when it matters:
The courier enters from the right and moves left toward the ticket. Preserve that right-to-left direction until the train arrives in the background.
For two characters, define their sides and do not cross the axis without a visible transition.
Use the approved storyboard as the visual reference and add only the decisions needed for time.
Create a [DURATION]-second original anime sequence guided by the approved storyboard.

CONTINUITY: Preserve [CHARACTER IDENTITY ANCHORS], [LOCATION GEOGRAPHY], [PALETTE], [LIGHT DIRECTION], [PROPS], and [SCREEN DIRECTION] across every beat.

BEAT 1 — ESTABLISH: [OPENING COMPOSITION AND STATE].
BEAT 2 — TRIGGER: [VISIBLE EVENT THAT CAUSES A RESPONSE].
BEAT 3 — ACTION: [ORDERED MOVEMENT, PATH, CONTACT, AND ENDPOINT].
BEAT 4 — MEANING: [FACE, PROP, OR INFORMATION THE VIEWER MUST READ].
BEAT 5 — FINISH: [FINAL COMPOSITION AND HOLD].

CAMERA LANGUAGE: [LIMITED SET OF SHOT SIZES AND MOVES]. Preserve [HORIZON, CAMERA HEIGHT, AND SCREEN DIRECTION].

SECONDARY MOTION: [ENVIRONMENTAL RESPONSES CAUSED BY THE MAIN ACTION].

AVOID: [IDENTITY DRIFT, GEOGRAPHY CHANGE, REVERSED DIRECTION, EXTRA BEATS, UNWANTED TEXT, OR UNRELATED CUTAWAYS].
Create a 15-second original 2D cel-shaded anime sequence guided by the approved wide storyboard.

Continuity: preserve the same adult courier in every beat—angular face, short silver hair with a red clip on the left, rust cropped jacket, dark collar, black shoulder strap from right shoulder to left hip. Preserve the elevated station, blue dawn palette, wet platform, warning line, tunnel position, and warm train design.

0–3 seconds, establish: wide view. The courier enters from the right and walks left along the empty platform. Fixed camera with a gentle push.

3–5 seconds, trigger: the warning light flashes twice. A paper ticket slides from the left toward the platform edge.

5–9 seconds, action: the courier notices the ticket, crosses two steps from right to center, kneels, and catches it with the left hand before it reaches the warning line. One stable lateral follow, no orbit.

9–12 seconds, meaning: medium close-up. The courier reads the ticket, looks toward the tunnel, and tightens the bag strap. Warm light begins to appear behind the right shoulder.

12–15 seconds, finish: wide view. The train arrives and the doors open. End with the courier standing beside the warm doorway, ticket visible in the left hand. Hold briefly.

Secondary motion: the jacket hem and one loose paper respond after the train enters; wet reflections brighten. No extra character, costume change, reversed strap, moving station architecture, unreadable sign, title card, or unrelated cutaway.
The example does not ask the model to invent the purpose of each panel. It explains how the visible states connect.
Use one wide board when:
Split the sequence when:
Separate shots can be generated and reviewed with tighter instructions, then assembled inside the broader AI anime video workflow.
| Pass | Questions |
|---|---|
| Beat coverage | Did every required story job appear? |
| Continuity | Did identity, clothing, props, location, and lighting survive? |
| Direction | Did movement and eyelines remain understandable? |
| Transition | Did each new state have a visible cause? |
| Camera | Did the camera clarify rather than decorate? |
| Endpoint | Did the final composition arrive and hold? |
If one beat fails, revise that beat’s trigger, path, or endpoint. If continuity fails across the whole sequence, simplify the board or divide it into separate shots. The character consistency Guide provides a deeper identity-control checklist.
MkAnime’s GPT Image2 to Video tool keeps the planning order inside one flow:
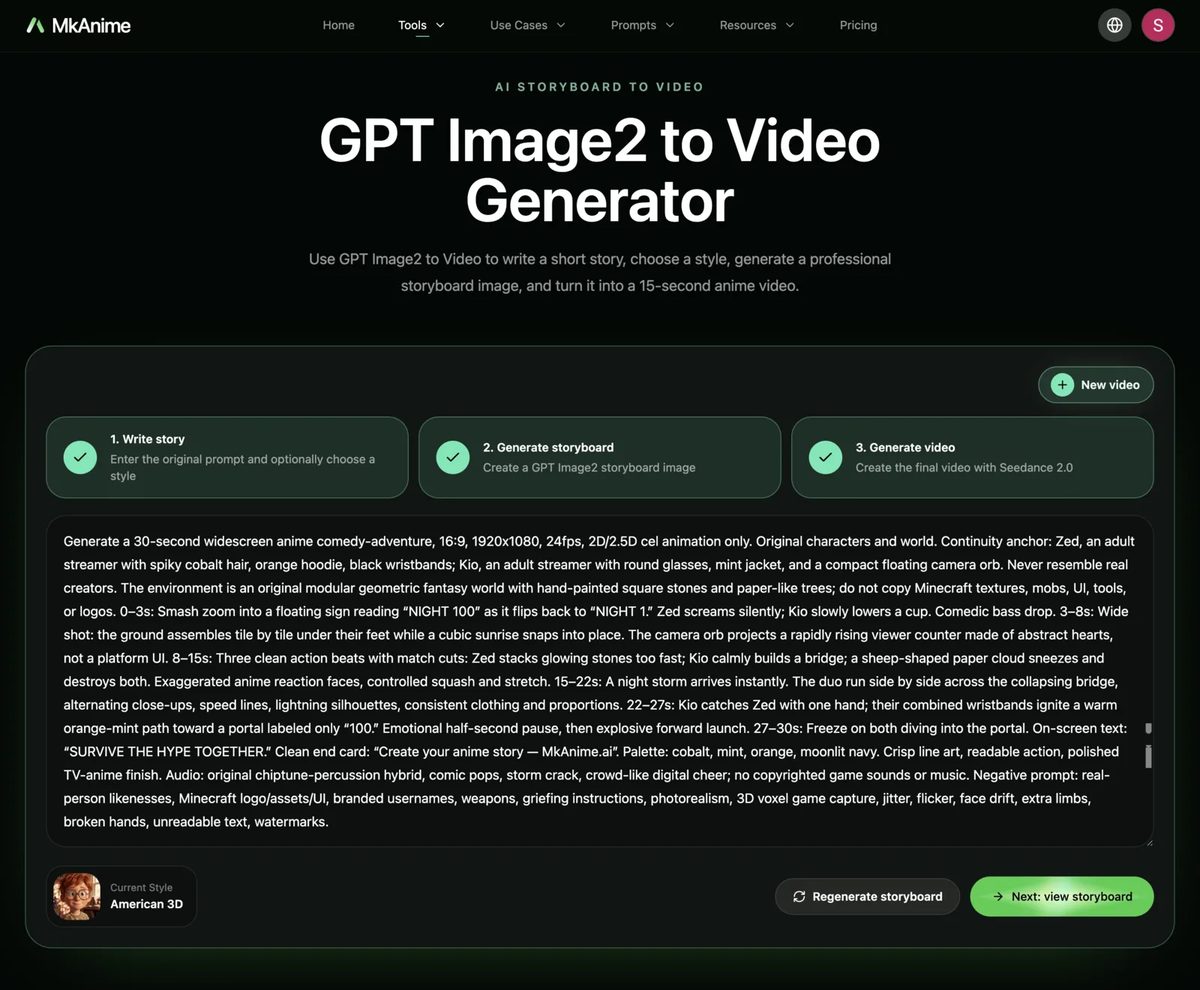
Step 1: write the story and visual constraints.
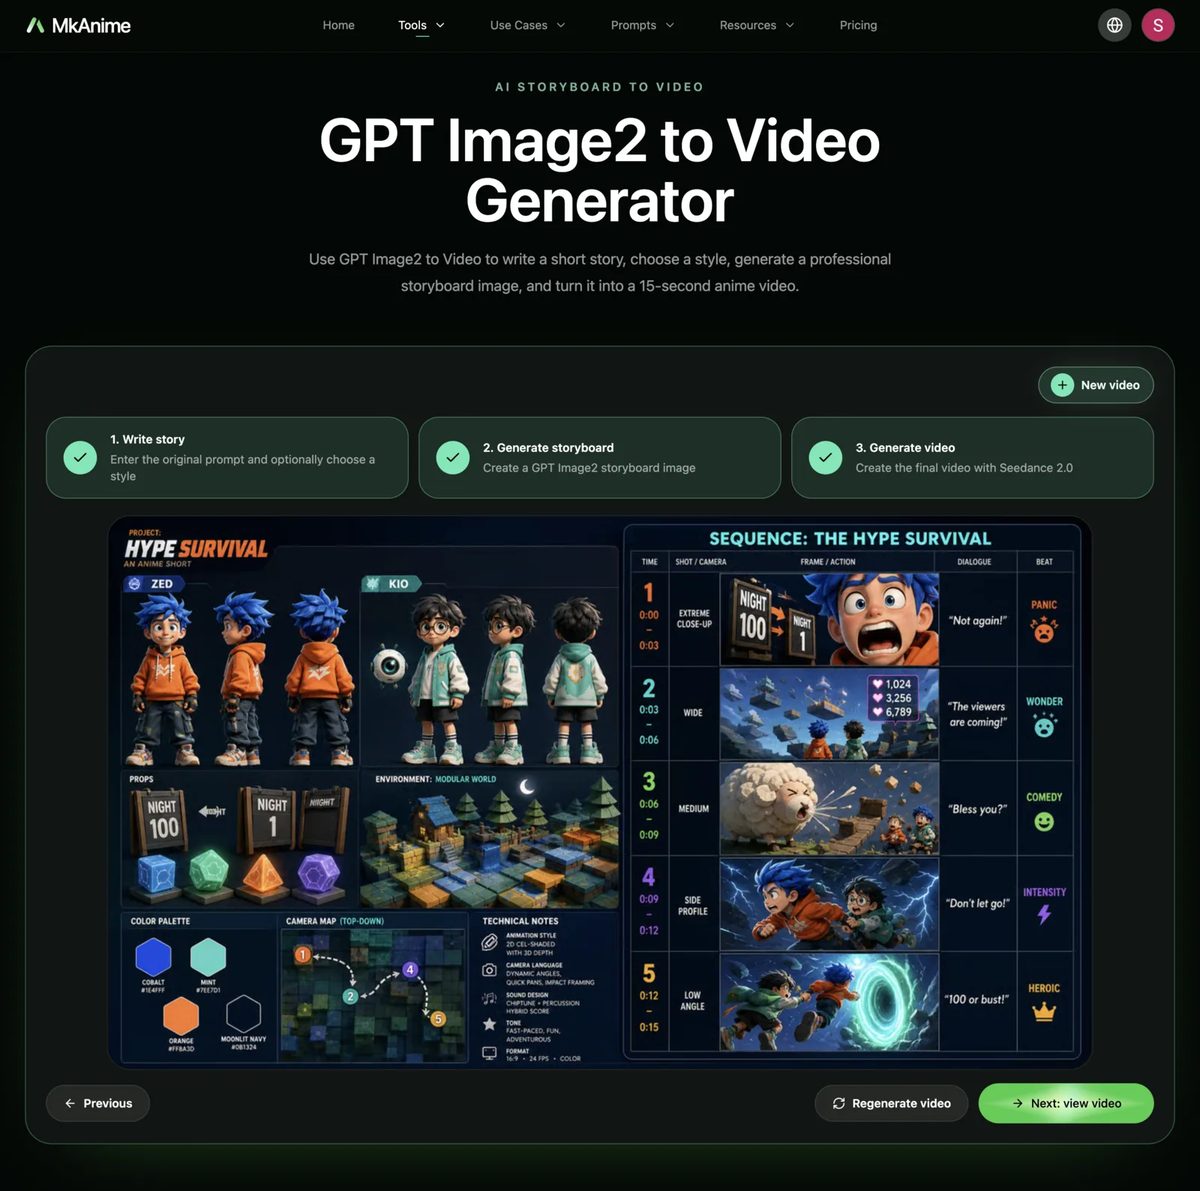
Step 2: review the characters, world, camera plan, and five-shot sequence.
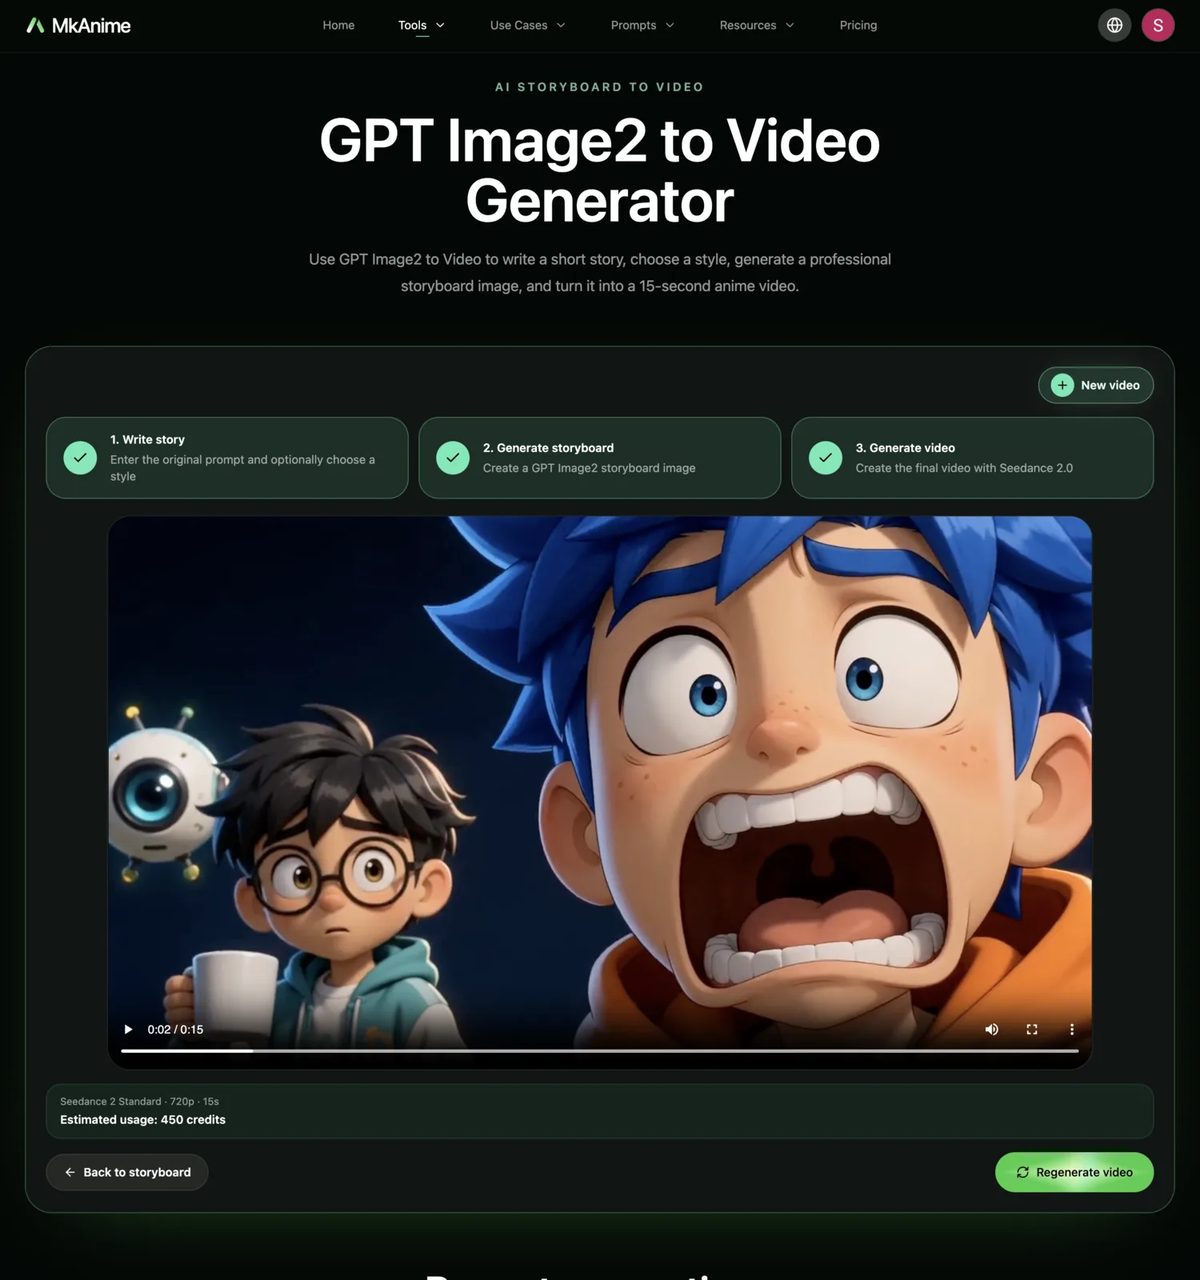
Step 3: generate the video and review the finished sequence.
The public tool creates the storyboard inside this workflow. If you are preparing a larger project with existing assets and multiple shots, use the storyboard principles above to decide which visual context belongs to each shot.
It can guide a short sequence when the cast, location, and action chain are compact. Complex scenes usually benefit from separate boards or shot-level generations.
No. Allocate time by story function. Physical action and readable emotional change may need more time than a simple trigger.
Name entry side, travel direction, character positions, and important eyelines. Keep that direction stable until the shot visibly crosses the axis or resets the geography.
Correct the board before video generation. Motion can amplify small differences in hair, clothing, accessories, and body proportions.
Important text may deform during motion. Keep a clean text-safe area or add final copy in editing after the video is approved.
A storyboard is a set of approved visual states. A usable video brief explains the movement between those states: the trigger, path, contact, camera role, continuity rules, and final hold.
When each beat has one job, the storyboard becomes more than reference art. It becomes a production plan.
From inspiration to complete plot, quickly output chapter structure